Turn a small space into a herb garden with a vertical herb planter upcycled from a wooden pallet. You can make this simple, low-cost planter in an afternoon and be harvesting your own tasty herbs by dinnertime! Our garden centre in London has an extensive range of delicious herb plants that add flavour to any dish. Visit our centre and get started!
What you need
- A wooden pallet
- Three wooden planks to form the bases of the planting boxes. The width of the planks should be the same as the inside depth of the pallet.
- Hammer
- Nails
- Drill
- Plastic or horticultural liner fabric
Sourcing used wooden pallets
Used wooden pallets are readily available online. You may also be able to get hold of free wooden pallets by asking your local supermarket and small businesses in your area or at construction sites.
Wherever you get your pallets from, it’s essential to check that they are safe to work with. Most wooden pallets have been treated in some way to protect against insects and fungi and are printed with a mark to show the type of treatment applied.
Which pallets are safe to use
Pallets with the following markings have not been treated with toxic chemicals and are safe to use:
- DB – pallets made of debarked wood
- KD – kiln-dried pallets
- HT – heat treated pallets
Avoid pallets marked MB, as these will have been treated with methyl bromide, which is highly toxic. It’s also good to check what the pallets have been previously used for. Also, avoid pallets that have been used to ship toxic chemicals or anything that could have spilt onto the wood and been absorbed.
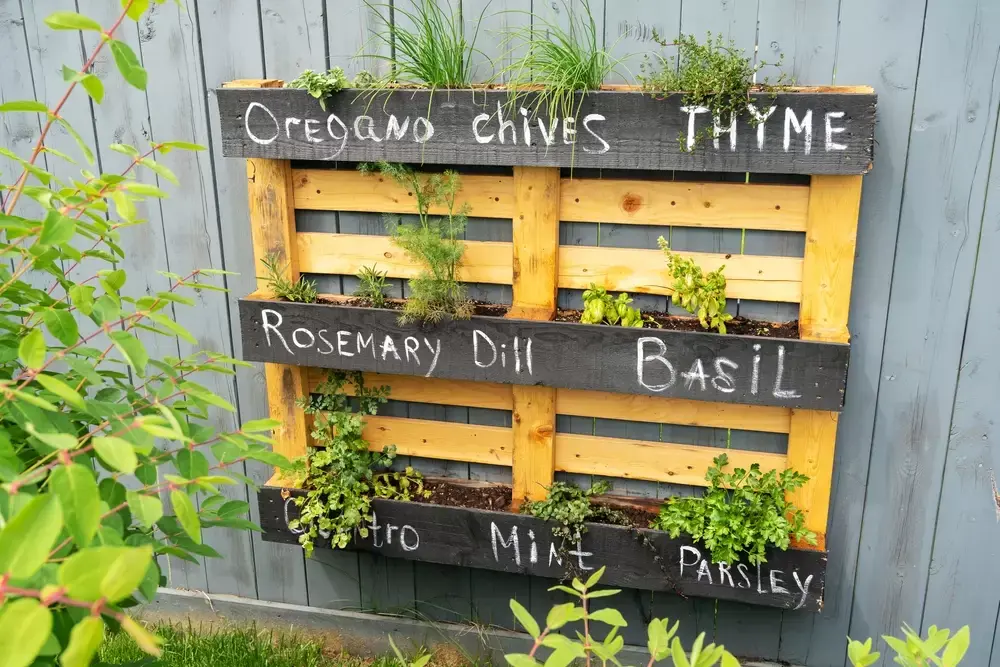
How to make a vertical planter out of a pallet
-
When the pallet is stood on edge so that the slatted face is at the back and the slats run horizontally, there will typically be three slats on the front face which will form the fronts of your planting boxes.
-
Create a base for each of these planting boxes using a plank of wood fitted into the space between the front and back faces of the pallet. Nail the floor in place if necessary.
-
Line each planting box with plastic (old compost bags turned inside-out are ideal) or horticultural lining fabric. This will protect the wood so that your planter lasts longer.
-
Drill holes in the base of each planting box for drainage.
-
Before planting your herbs, place your pallet in its final position, ideally in a spot that gets sun for more than half the day. These versatile planters can be leant against a wall or fixed to it with screws. If you don’t have a wall available, you can set two sturdy posts into the ground and use these to support your planter.
-
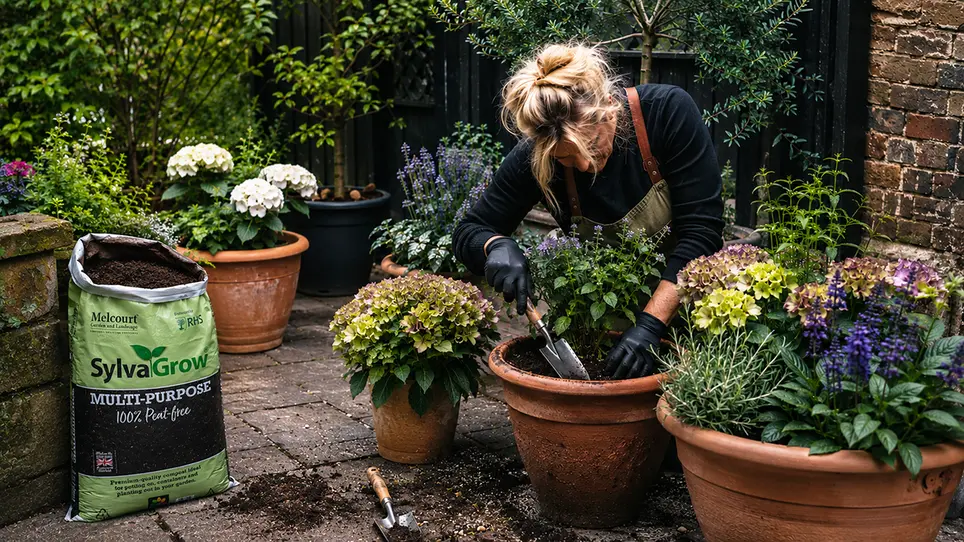
Fill the planting boxes with multipurpose compost, then plant your herbs and water them in.
You’ll find a fantastic range of herbs in our centre and everything else you need for your herb garden. Come in and see what’s in store!